Making Transparent Gifs
with GIMP
In this tutorial, you will be shown how to make a .gif image with a transparent background. It's rather simple using the free downloadable program, GIMP. Provide your own image :P

Steps Outlined:
Step 1: Downloading GIMP
GIMP is a completely free Image editing program. The official website is
www.gimp.org/ and you can download from
http://www.gimp.org/downloads/
You can also find some great Tutorials here:
http://www.gimp-tutorials.com/
but for this lesson all the instructions you need will be right here :)
Step 2: Your Image
You can make the image however you want, such as scanning something you drew, drawing it in GIMP, or using another program to acquire it.
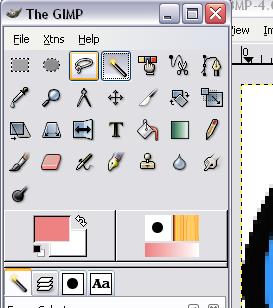
The Basic GIMP layout is like the screen shot below.

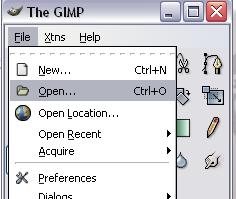
To open an image, select from the main module like so:
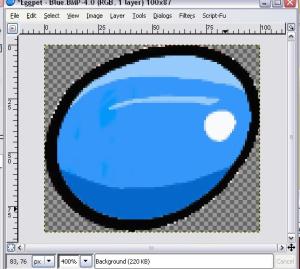
Here I have chosen a Bitmap image made in MSPaint. The image has a definite black outline, which is useful as the finished transparent gif doesn't need to have a messy gradiented edge.
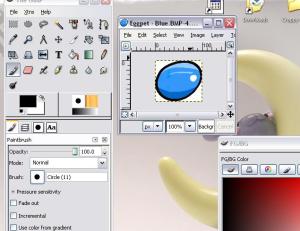
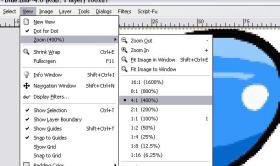
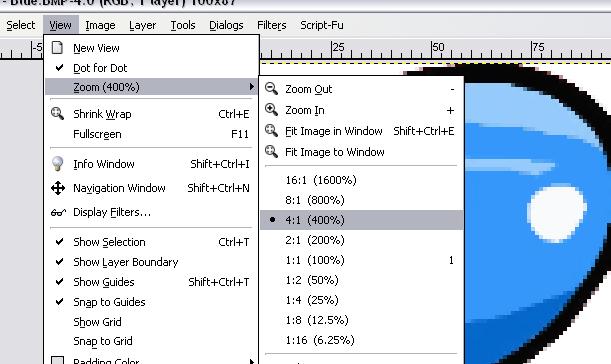
It's a bit to small to work with, so I'll zoom in on the image to see it better.
Step 3: Adding the Transparency Layer
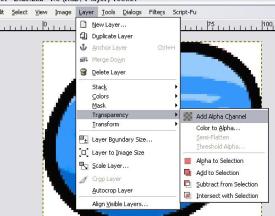
From the menu as shown below, add an 'Alpha Layer'. Without this layer the background will not be transparent, it would be white.
Step 4: Erase the Background
If there is a definite outline on the image, like the one I am using, you can use the 'Magic Wand' selection tool on the part you want deleted. Hold down the 'Shift' button on your keyboard while clicking to select multiple areas at once.
You can also use the lasso tool to select the area you want to remove, which is right next to the wand tool on the GIMP interface.
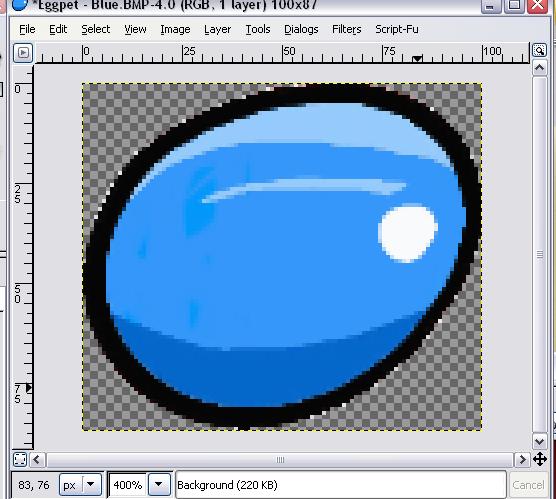
Once the area is selected, simply press 'Ctrl' and X to cut it out :) The 'transparent' background will now show up as a grey checkerboard pattern.
In this example, the edges are still showing up as a light shade of grey, but if put onto a dark background it will look messy.
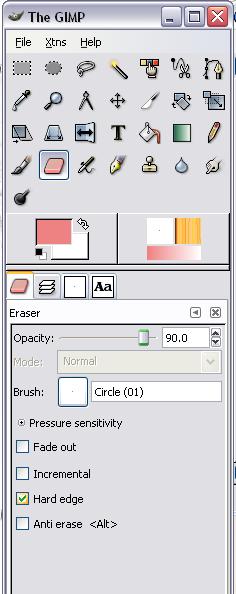
You'll need to remove these bits manually, so get the eraser tool as highlighted below. I recommend a very small 'brush' because this is a very delicate process and you won't want to mess it up now ;) Make sure that you tick the 'Hard Edge' option, because you'll get a cleaner edge from that.
Use your new eraser tool on the pixels around the edge, being careful not to remove parts of your picture. If you haven't already, zoom in on the image so you can see it and work with it better. Rinse and repeat, and voila! An image with a completely transparent background!
Step 5: Saving or Uploading the Image
Access the save menu for your image as shown below.
 ->
-> 
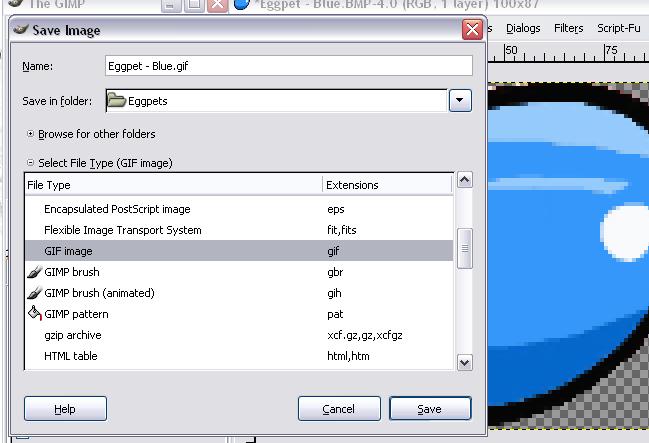
Choose the name and folder you want to save in, then click 'Select File Type' and choose a file type from the menu.
Step 6: PNGs and GIFs
If you choose to save as a 'GIF Image', you may get the following message in GIMP:
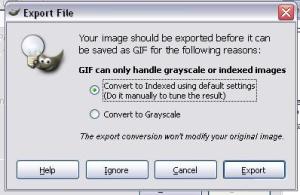
Clicking 'Export' will leave your image exactly as it is, but the other options will damage the colours of the picture.
'PNG' images tend have some advantages over 'GIF' images. Making a PNG is the same as making a GIF, just saving it as a different type under 'Select File Type'.
It makes the edges smooth and doesn't mess with colouring or anything, however the file size is a bit larger. Also, PNGs don't show up on some of the older versions of Internet Explorer.
It's up to you whether you choose to save it as a GIF or a PNG.
Step 7: The Finished GIF!

Here's the final image as it is uploaded to Elfpack! This was an entry in the
Make-a-Giffie Contest, and is not for free use.
See
Uploading Images for help on Uploading images to Elfpack :)
That concludes the tutorial on Making Transparent Gifs with GIMP. I hope you have learned something :)
Thanks to [Bookwyrm] for the information on PNGs.
Graphics from Eyes of Frost's Graphics.
Desktop background pictured by 'BlackMago' of DeviantArt.
Thanks to the GIMP creators for distributing the program for free :D
Go or return to:
-
Tutorials
 Stumble!
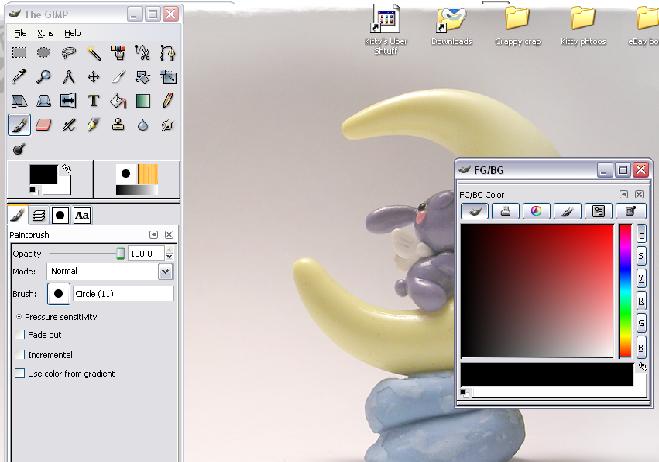


 ->
-> 

 I already finished the page.